- Your cart is empty.


Replacing the bar tape on your handlebars is a key skill for cyclists. Bar tape wears out, unravels, gets a little gross, or just needs to be replaced because you had to take it off to work on your bike. Besides, replacing the bar tape may be the easiest way to give your rig a whole new look.
If you’re not sure how to do it, you’re not alone. We asked our friend Johnny at Brave New Wheel, our local bike shop here in Fort Collins, to give us a quick tutorial.

You’ll need bar tape for both sides of your bars, electrical tape for securing both ends, finishing tape to give it a polished look, and a pair of scissors. And maybe a beer and some tunes. We won’t tell you how to live your life.
To prep your bars, remove the bar end plugs of your handlebars, take off the old tape, and pull back the hood covers.

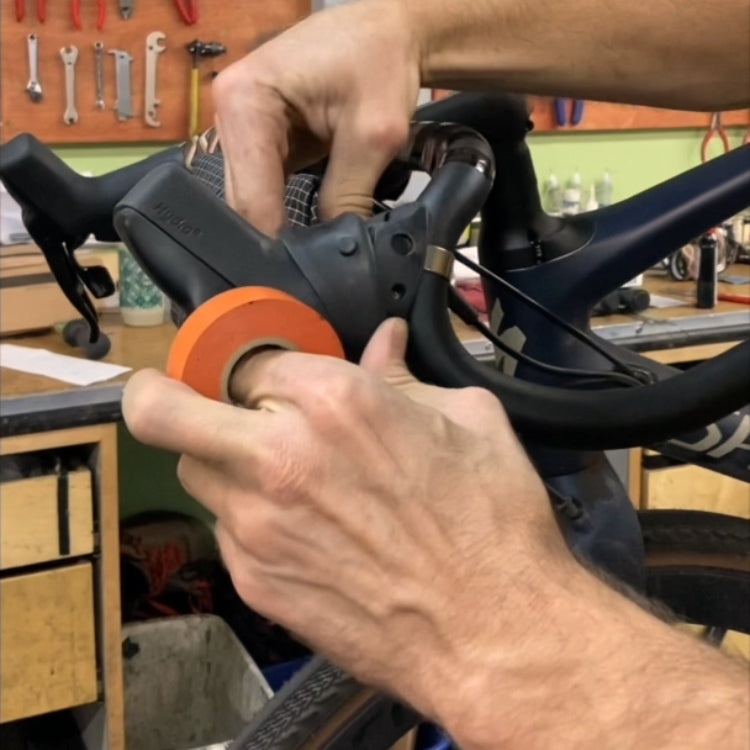
Line up the edge of the electrical tape with the edge of the handle bar, attach it, and then half twist the roll of tape so the sticky side is facing up. Go around the bar a couple of times so the entire surface is sticky-side up.


Remove a length of the adhesive backing from your bar tape. Line up the end of the tape so it’s almost directly on top of the electrical tape, but with about a third of the width hanging over the edge of your bars. Take care to choose the right direction when attaching. The wrap should follow the direction of your grip, so that when you grip your handle bars the wrap will tighten further rather than slowly unravel.

Hold a consistent, medium amount of tension on the bar tape as you wrap the drop up to the hood, removing the backing as you go. Each wrap should overlay about a third of the previous. Stop just before the hood, so that there’s a small gap between the wrap and the hood but not so much you could fit another wrap.
Note: if you like a little more cushion, you can overlap more than a third of each wrap for more cushion. If you like a little less, overlap a little less and hold more tension in the tape. A third is standard for making sure you have enough tape to cover the whole bar with a medium amount of cushion.

This is the tricky part, and there are a few different ways to accomplish it. Johnny prefers the figure eight method:
Wrap the tape halfway around the bar, as if you were going to squeeze another wrap below the hood. But instead of continuing around once you get to the outside of the bar, pull the tape straight up and over the outside of the hood. Come almost straight back down the backside with the tape, but angle it slightly away from the bike so you can wrap it around the front of the hood. Now that you’re on the outside of the bar again, angle it slightly towards the bike to wrap the inside of the hood and connect with the top of the bar.

Continue to wrap the top of the bar until you’re an inch or two from the stem. Try to leave the same amount of room between the end of the tape and the stem on both sides of your handlebars for a tidy, symmetrical appearance. Cut the end of the bar tape at a steep angle rather than straight across.

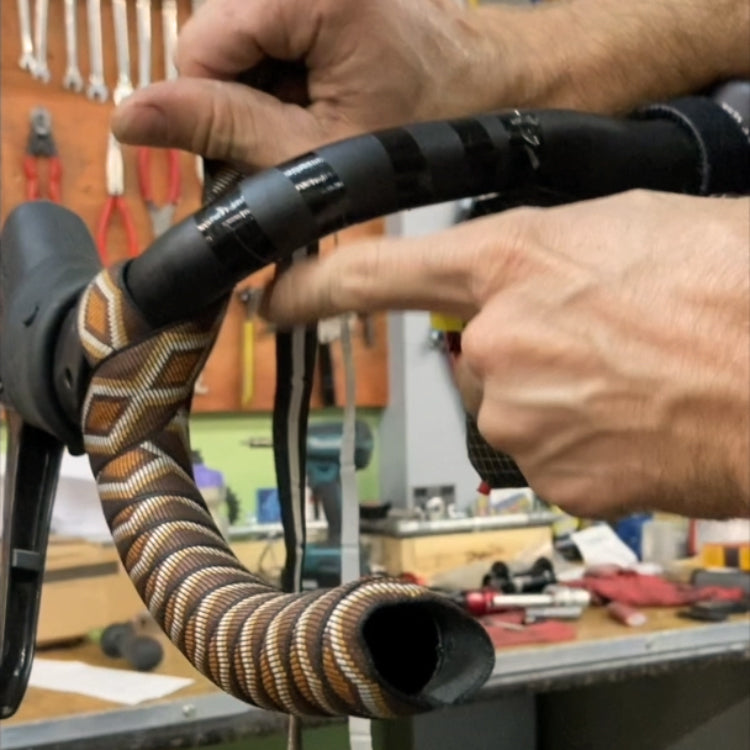
Overlap half of the last layer of bar tape with electrical tape and wrap it around a few times so it’s nice and secure.

Repeat Step 7 but with a small amount of finishing tape to cover up the electrical tape. Try to have the end of the finishing tape end up on the bottom of the bar for a cleaner look.
Push the bit of tape you left hanging over the edge of the drop inside the bar and replace your bar end plug.
Post a #NewBikeDay pic to Instagram and see if you get away with it. We surely won’t call you out.
Shout out to Brave New Wheel for taking the time to show us how to wrap our drop bars. (And for the beer.) Follow them on Instagram at @bravenewwheel for more bike content. For the best lookin’ bar tape in the biz, hit up & give a follow to @campandgoslow.